Sunday, March 28, 2021
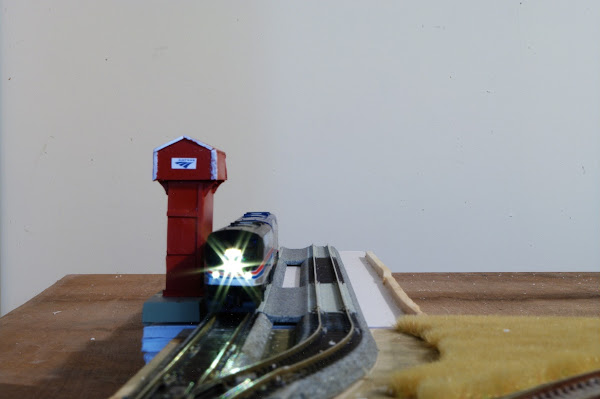
Advantages Of T-Trak For Home Layouts
Sunday, March 21, 2021
T-Trak Expansion
My original project expanded onto a 30 x 72 nch folding table. As time went on, I built additonal modules, at first intended to branch off from the original oval on the table and run onto an old desk, as in the photo below.
However, I slowly begsn to realize that if I got rid of the old desk and rearranged a few other things, I could replace it with a second 30 x 72 inch folding table. In fact, I began to realize that I had enough modules that, with the addition of just one more double-wide module kit, I could reconfigure the existing modules into an L-shaped layout.I drew each module I have to scale using a Kato transparent plastic Unitrack planner, scanned and printed my drawings out, and came up with the drawing below. It's messy due to all the copying, cutting, and pasting, but it gave me an idea:
This will give the newer modules I've built a home, like those below: The kit I have left to buy will be a double wide recessed deck to hold the Richmond Main Street Station project:Sunday, March 14, 2021
N Scale Detail Item
They turn out to be pretty inexpensive, and I ordered two. The ones in the picture have had the bed weathered with grimy black, as videos from the Powder River area show the trucks weather this way.
I looked up the prototype dimensions of a 793D. It turns out its overall length is 42.2 feet. The model is 1.75 inches long. 1.75 inches times 160 is 280, divided by 12 is 23.3, so the model is roughly half size for N, but the effect is good, and it looks like it will work as a background item. I find there were other construction items produced as Norscot Minis, apparently to equivalent small scale, so my eye is out now. A post on Trainboard says the 315C L excavator is about 1:155, very close to N.Sunday, March 7, 2021
Wiring And Tracklaying Complete On The Inglenook
There are enough spare positions on the terminal strips to allow other features to be added as technology develops. I think this layout is potentially a good pilot candidate to operate with a computer and JMRI. The switch addresses are set up not to conflict with any other addresses on any of my other projects, such as the main HO layout and the T-Trak modules.
Below are the completed tracks on the layout. I've drybrushed the ties with reefer gray and railroad tie brown pending ballasting. The cutouts for the Peco switch machines and the Kadee 308 magnet have been covered with heavy brown paper.
The diamond at far right will connect to a dummy track. One thing I discovered in doing this layout was that N wooden-tie code 80 flex track has disappeared from the stores, both local and on line. I didn't notice it at first because I had enough left over from previous layouts to salvage for this one, but not enough to add the dummy track for the diamond. I'll either use concrete tie track or wait for wooden tie track to become available again. The dummy track is a scenery item and a nice-to-have, so it can wait.I took the layout to a temporary test location on top of our clothes washer and connected it to the DCC bus on my HO layout for proof of concept and final test. Everything works:
The layout will now move to its projected semi-final location for finishing.


