


The Walthers models are very smooth runners and very heavy. They're reasonably priced, and the cost differential between DC only units and those with sound and DCC is only about $40, which makes the sound version a real bargain.
Some runs have ESU sound decoders. These have built in extra acceleration and deceleration momentum, unlike standard DCC decoders. I find this extra momentum a bit much for my medium size layout, and it also adds complexity for speed matching. As a result, I set CV 3 and CV 4 to 0 when I set the loco up. It also may be necessary to adjust CV 2 to 10 or 20 or so to be sure the loco just starts rolling at speed step 1.
Here are some photos on its maiden run as I adjust it for speed matching in a consist:


It was a fairly good day. When I got to Mojave, a unit BNSF grain empty eastbound was just coming off the hill. It had a "heritage" grain car with the Frisco logo:


At the end of the day, I caught a loaded BNSF westbound unit grain train with eight units, three at the front, three midtrain, and two pushing.


Here is a project inspired by a similar building at Fillmore n the F&SM. I started with a Gold Medal Flour ghost sign image from the web and glued it to a basic shape made from foamcore.


I found a blog by another model railroader who likes paper buildings off the web. He posted a sheet you can download that builds a decrepit leaning shed. I printed the sheet on photo paper and built a model on a basic form made from oamcore.


I decided to try the Union Pacific set. I was most interested in putting it on the recent Walthers 949-11753 bucket lift truck, which comes in white with some railroad emblems, but these are all generic. The Circus City decal sets have more specific prototypical lettering, stripes, and other data. Here's the Walthers cherry picker with the Circus City decals and stripes applied:


There is no lettering diagram provided with the Circus City decal set. Luckily, I've photographed dozens of UP trucks on railfan excursions, so I had photos to work from. I printed one out for reference when I worked on three trucks I had on hand:

I made up the little truck on the left from pieces left over from a kitbashing project using former Boley body and chassis parts. If I can scrounge other bits and pieces, I'll finish it to look something like this loco service truck I found at Dolores Yard near LA:


When it was completely dry, I moved the unit to its place behind the Department of Docks. What I like is that it fills the background spot, but it doesn't call attention to itself, even though it helps establish atmosphere. It fills the corner and partly deflects attention from the ventilation duct that's behind everything.


I wouldn't rule out finding more images of stacked containers on the web, resizing them as needed, and adding them as an even higher backdrop behind the ones in the corner, to further deflect attention from the vntilationduct.
Second, the scale of the drawings is a puzzle. The drawings are represented variously as N, HO, or other scales, but once you print them out, they aren't. You need to print out a drawing on plain paper and measure it against a scale rule. The container in the drawing may come out to something like 32 feet in HO. You then need to divide 40 by 32 to get the ratio to enlarge the drawing. I found 118% was right, but your printer and computer may vary. I opened the downloaded picture in MS Paint and resized it 118%, When I printed the image, the 40 foot container came out to HO 40 feet long.
I used glossy photo paper to print the models. I had it on hand, but new containers have glossy paint, and I like the slightly glossy look of the finished product. I cut the printed image out as shown below:


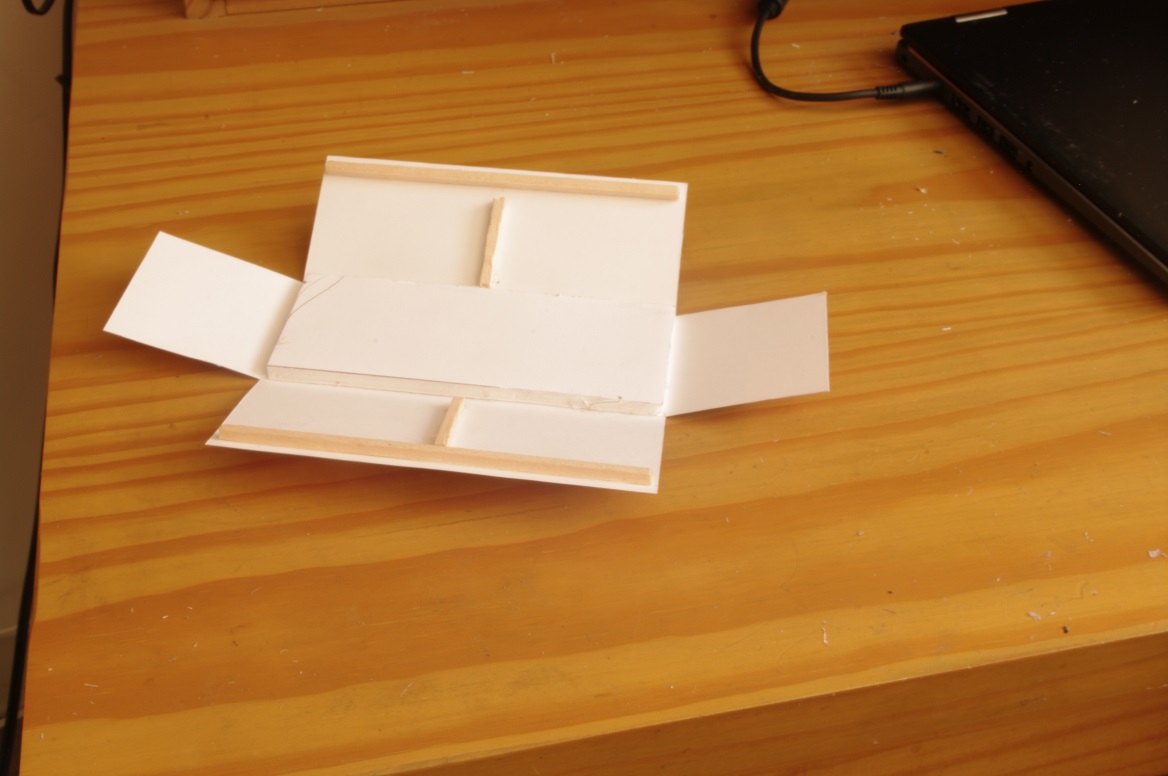

With the box turned right side up, the remaining task is to fold the ends down and glue them in place.


 Here's a finished product.