Sunday, February 23, 2025

New T-TRAK Module

I've finished basic assembly, track, and electrical work on a new T-TRAK module. This is a half-depth, single-wide module that I intend to be compatible with an earlier half-depth, double wide module that I based loosely on Amtrak's Springfield, MA station, shown below:
Although there's no scenery work yet, I want to base it loosely on the city scene just north of Washington, DC Union Station using the building flats I discussed in this post. Below is a top view of the track:
The upper track in the photo is a dummy track intended to add depth to the scene, but wired to the DCC bus to allow lighted rolling stock to pose on it for photos. The lower two tracks are according to T-TRAK mechanical standards and will interface with any other standard T-TRAK module. The departure, for those familiar with T-TRAK, is the Kato crossover. T-TRAK generally can't handle crossovers between tracks, because the wiring according to standards is opposite: the bottom track connects with the Kato terminal wires as blue-white; the upper track connects with the wires white-blue. Sending a train over the crossover between the tracks will cause a short.

From the time I started with T-TRAK, I intended to use DCC, and I intended to build modules mainly just for personal use, not T-TRAK meets. I built several early modules with DPDT toggles that would allow the wiring to switch from BWBW to BWWB in case I ever wanted to run them at a T-TRAK meet, but it seems less and less likely I will ever do this, so I've stopped including the DPDT feature on recent projects.

The photo below shows my idea about taking advantage of the space under the module deck. I haven't heard of anyone else doing anything like this. Normally the space under a standard T-TRAK module is empty. But doing things this way makes wiring much more accessible than under normal benchwork, among other things. The bottom line is that I can include crossovers on my personal modules and not have a short, but I couldn't use them at a T-TRAK meet. Not likely I will ever take a module to a meet as I get older anyhow.

The 6-position barrier strip at left connects all three tracks above the deck to the DCC bus. They are all wired BWBWBW. Every standard module I've built has a barrier strip like this that takes power off the two main tracks. Thus a bad connection via a dirty or damaged Unijoiner between modules can be bypassed via the Unijoiners connecting the other track to other modules. This also provides a DCC interface with other DCC devices on the individual module, like a switch machine decoder or an NCE Illuminator that powers Woodland Scenics Just Plug LEDs off the DCC bus. Normally there is no other connection to the DCC bus between modules than the Unijoiners that connect the tracks between modules.

The 5-position barrier strip on the right connects a Digitrax DS51K1 switch machine decoder, farthest to trhe right, to the DCC bus, as well as the red and black wires to the Kato crossover. This allows me to throw the crossover from my DCC command station.

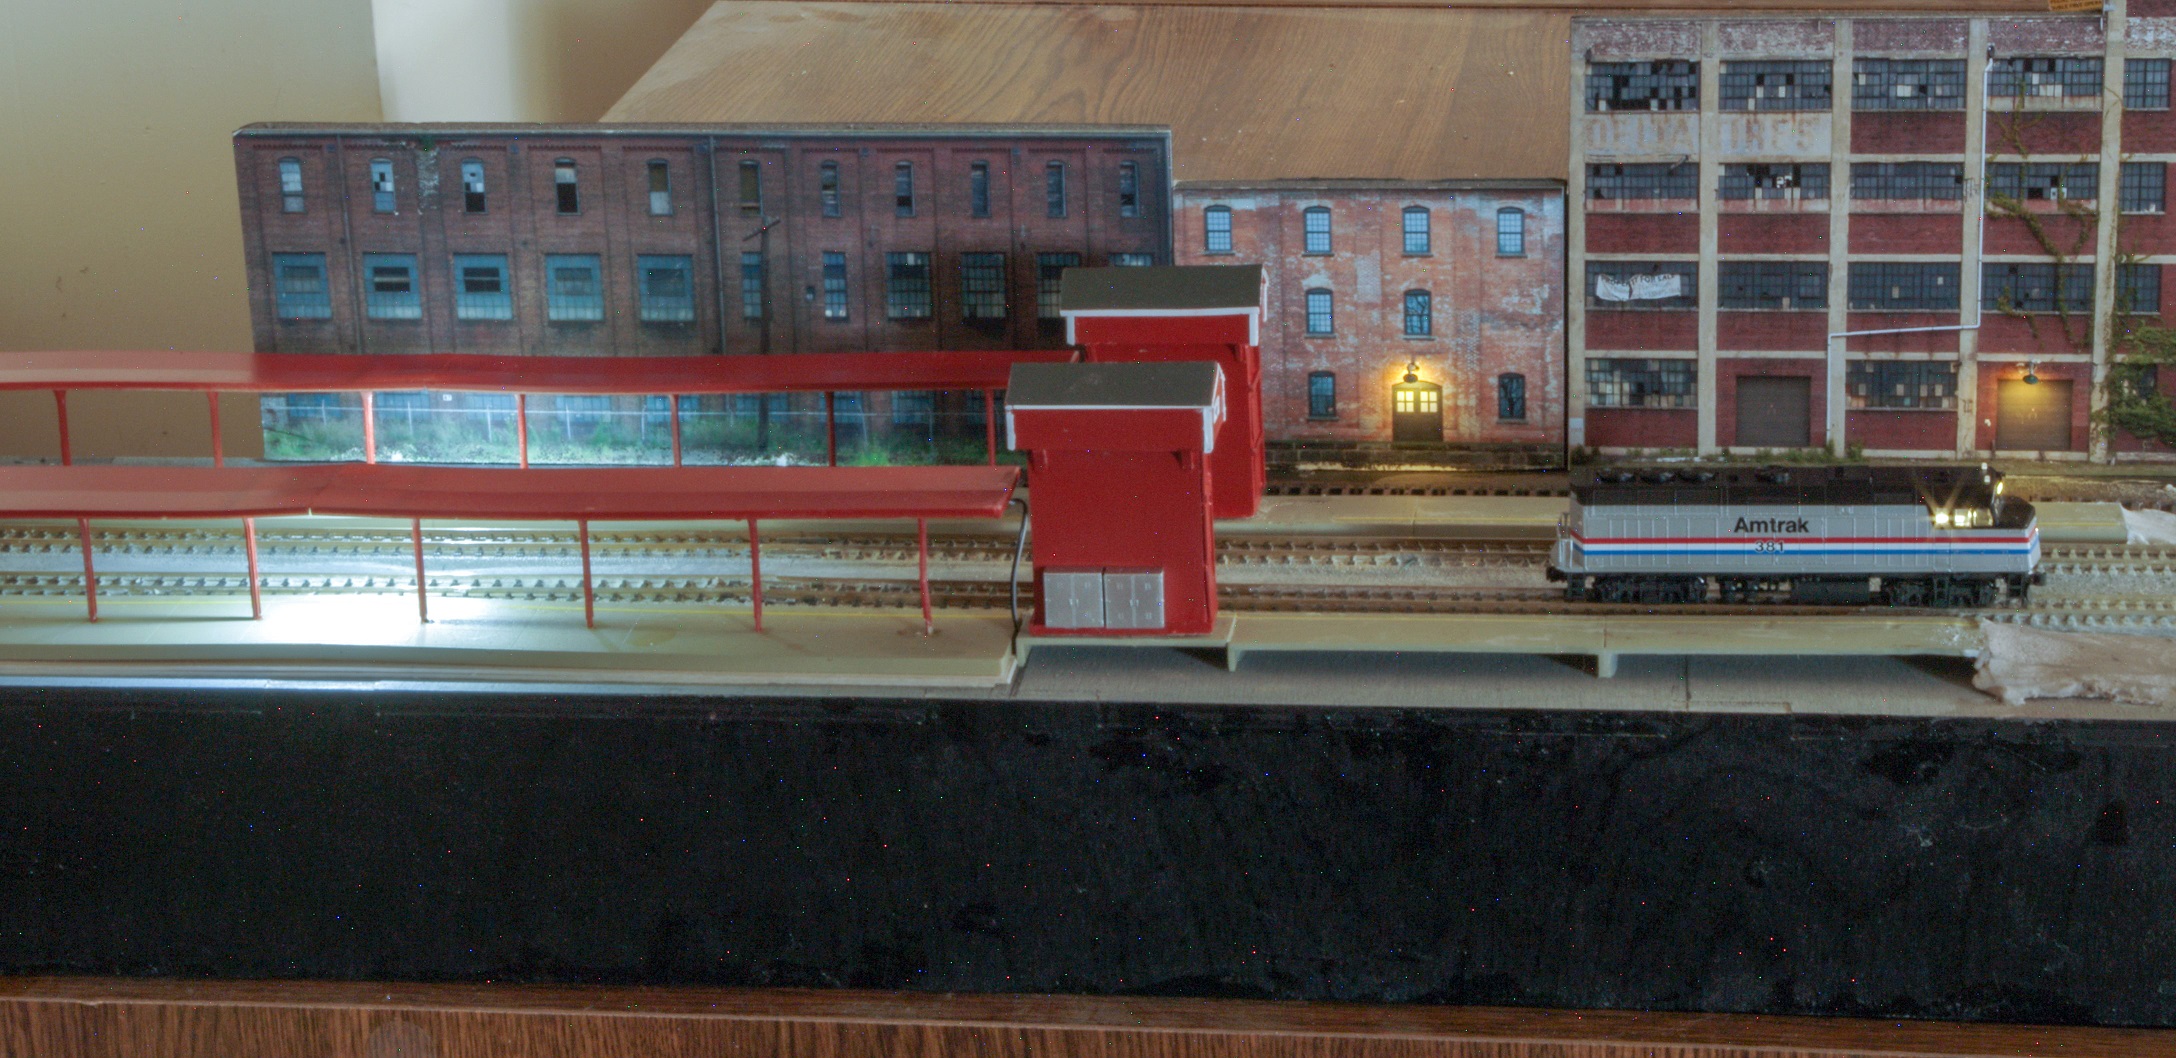
The photo below is an initial test to be sure power is reaching all three tracks on the module and gives a basic idea of photo possibilities:

Sunday, February 16, 2025

Surfliners As Modelable Prototype

I've noticed that the Kato N Surfliners have started to reach stores. It'll be a couple weeks until my budget will let me order a set. Meanwhile, here are some photos I've taken while railfanning them over the past quarter century.
A little-noticed scenic feature is the jumpover the passenger route takes over the Alameda Corridor freight line to Los Angeles Harbor and the LA River just past the Redondo Jct engine facility.
Here is 2112, one of the newer SC-44s, in Glendale.
Here is 2109 pushing a northbound past the BNSF diesel facility in Commerce.
Train 769 coming and going in Oxnard in May 2013.
Cab car 6953 next to a Metrolink train in Glendale.

Sunday, February 9, 2025

A Little More Work On The T-TRAK Module

I did some scenery work on the T-TRAK module I posted about last week, adding some vegetationm to the berm:
The ground cover is just a sheet from JTT that includes all the dirt, grass, and shrubbery. I cut it up to fit the space. The great thing about these sheets is that they aren't paper, they're a somewhat more flexible material, and if you cover the area you're going to put it on with a coat of Elmer's Glue, even if it isn't flat, as shown above, it will shrink to fit the irregular surface as the glue dries.

The trees are from Bachmann. I'll be adding more to the area as work continues.

Most of the work I did over the past week was under the module deck. I've pretty much given up on the idea of ever bringing my modules to a T-TRAK meet -- a Southern California group was starting before COVID, but it quit for the duration, and then the venues raised their insurance requirements, so I doubt if this will ever really restart. In any case, I'd already been building modules that weren't electrically compatible with the T-TRAK standards, so I'm basically satisfying myself building small layouts in a home environment.

But under the decks, I'm installing things like DCC switch machine decoders and NCE Illuminators that let me run Woodland Scenics Just Plug devices off the DCC bus. This is what the underside of one of my typical modules looks like:

This will allow me to add featues like signals in the future, without the need to go under a conventional layout to make changes -- all I do is flip the module over to work on it. There's a lot of potential in T-TRAK besides just running big layouts in gyms and convention centers.

Sunday, February 2, 2025

Restarting Work On My Newest T-TRAK Module

Looking at the data on this photo, I took it in June 2023, more than 18 months ago.
For whatever reason, I got stumped and lost interest in the project -- it may have been because I couldn't see a robust way to fasten the Kato crossover to the surface, as it doesn't have the usual mounting sockets for screws coming up under the deck, and any sort of adhesive could be either dangerous getting into the switch mechanism or too uncertain given the wear and tear of constantly disconnecting and reconnecting the track on this module to other modules via the Unijoiners. Not long ago, I rethought things:
At the right end of the track, about an inch in from the edge of the module, I bracketed the ballast shoulders on each side of the crossover with 2-56 wood screws inserted in #50 holes. They don't penetrate the ballast shoulders at all, they just hold the track tightly in place on the sides. At the other end of the module, I simoply drilled a hole in the middle of the Kato 20-042 double track 2-7/16" straight section and held it in place with a larger sreew drilled in from the top. This holds the track firmly in place without the need for any sort of adhesive.

The screws will be either painted or covered with bits of ground foam to make them less conspicuous. I also started to rethink the scenery, beginning with a new color of Rustoleum Nutmeg to replace the yellow-brown I started with. I also began to notice from wstching train videos that even in fairly flat country, there's often a low berm on one side of the tracks or the other, so I made this up with some Sculptamold. This willl be covered with trees and brush.

I'll put farm buildings and more trees on the other side of the berm.